Chrome extension · Gmail & Outlook on the web

Triage your inbox faster with AI that respects your workflow

InboxPilot AI suggests categories and priority from what you already see in the list row—subject, sender, and a short preview. Full messages stay local unless you choose otherwise. You bring your own API key and can turn AI off anytime.

InboxPilot AI banner showing inbox triage InboxPilot AI logo

Built for busy inboxes

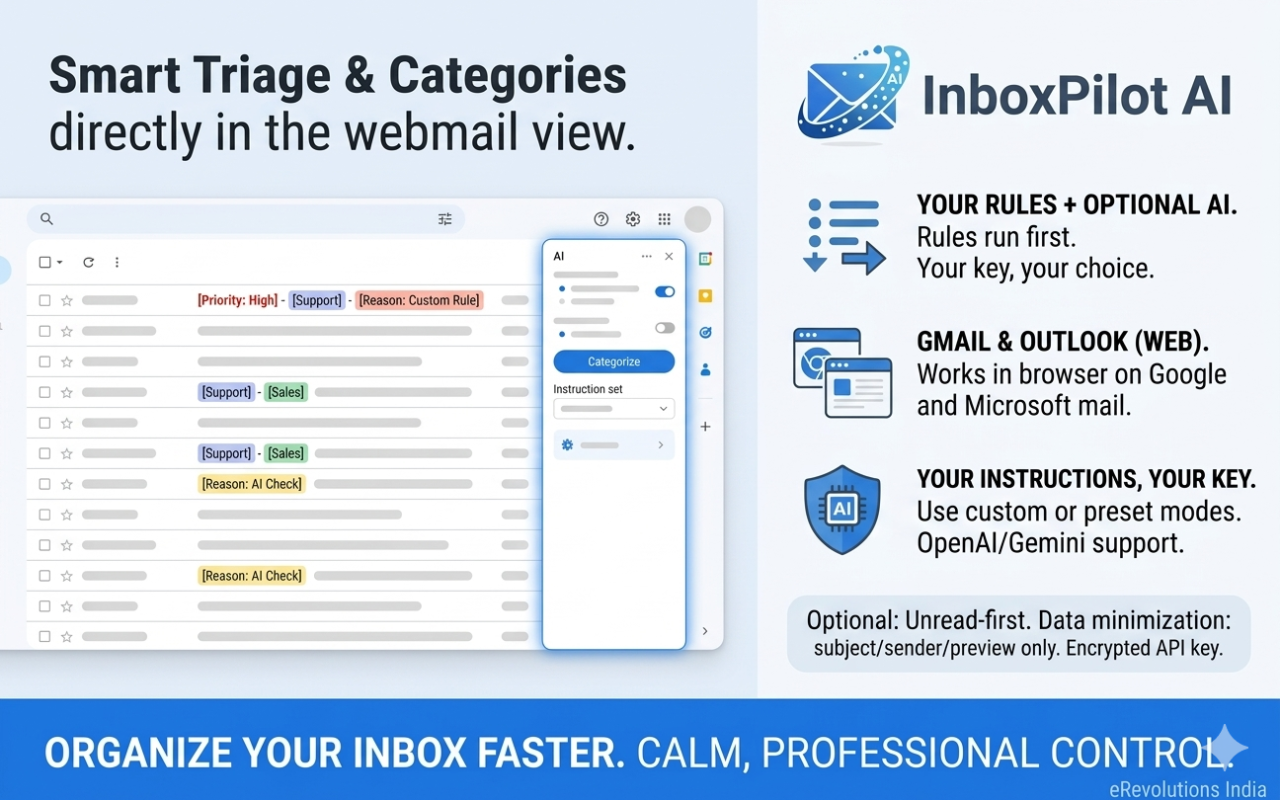
Works where you already read mail—no separate app. Unread-first logic, instruction presets, and a clear activity log keep you in control.

Gmail & Outlook on the web

One extension for the two clients you use most. Shared mail-client logic keeps behavior consistent.

AI when you want it

Opt-in AI with your OpenAI or Gemini key. Disable anytime; local rules and labels still apply where they can.

Instruction presets

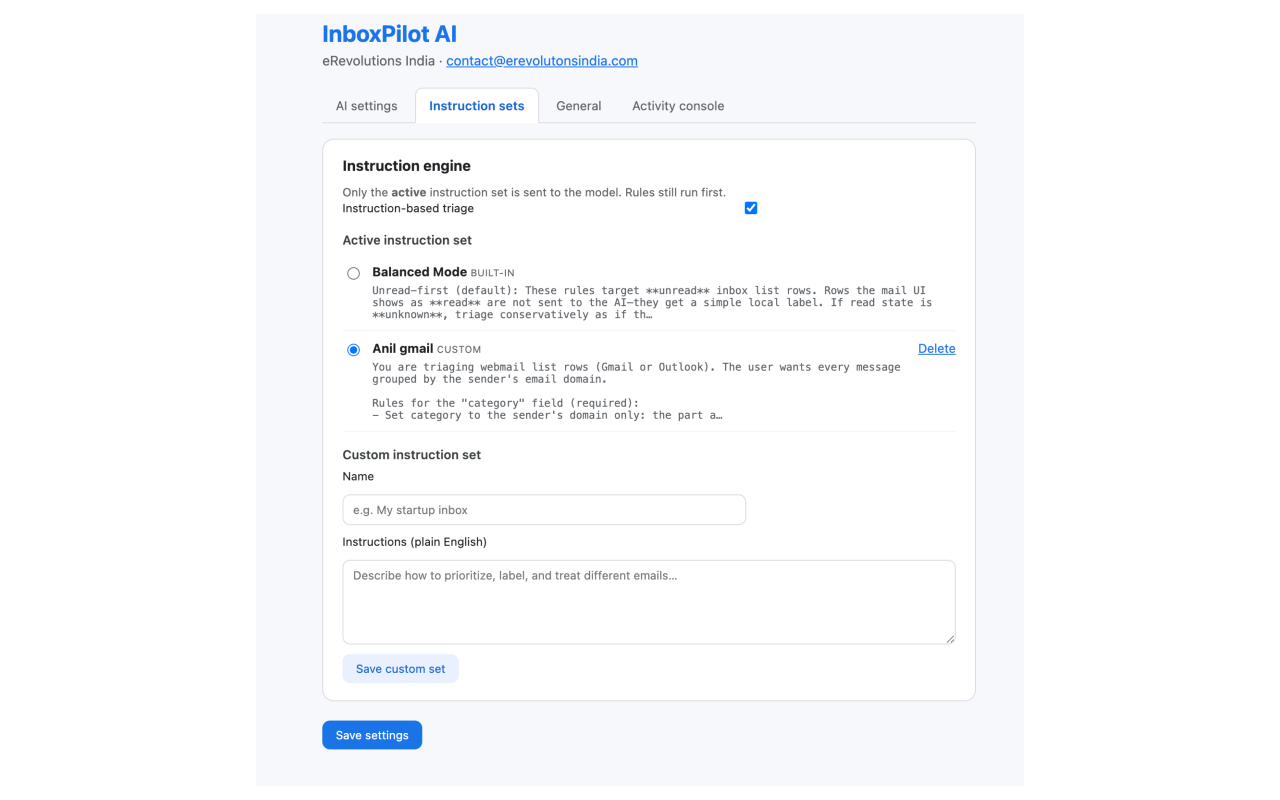
Built-in modes plus custom instructions so the model follows your triage policy—not a generic guess.

Unread-first

Read rows skip AI by design so you focus effort on what still needs attention.

Activity log

See what the extension did and when—helpful for trust and debugging your setup.

Encrypted API key

Your provider key is encrypted with AES-GCM before sync storage. You stay in control of rotation and revocation.

How to use InboxPilot AI

Follow these steps to install, configure General and AI options, pick instruction presets, then triage from Gmail or Outlook in Chrome.
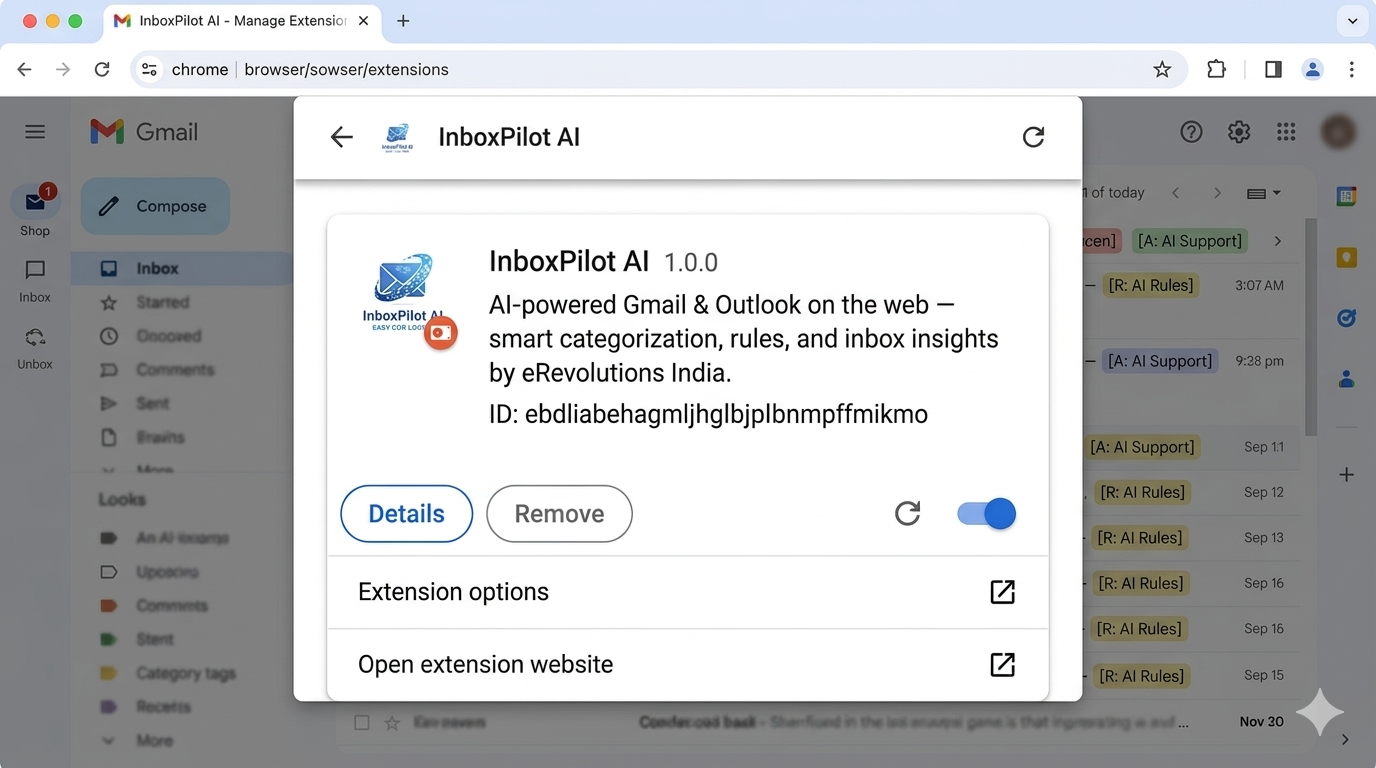
Step 1

Install and pin the extension

Get the published build from the Chrome Web Store (or load unpacked if you are testing from source).

  1. Open the Chrome Web Store listing and click Add to Chrome, then confirm.
  2. Click the puzzle icon in the toolbar → find InboxPilot AI → click the pin so the icon stays visible for the popup and quick access.

Developers / sideload:

  1. Open chrome://extensions, enable Developer mode, choose Load unpacked, and select the dist folder after running npm install and npm run chrome:ready in the project.
  2. After each rebuild, click Reload on the extension card.

Step 2

Open full settings (Options)

All tabs below live in the same Options page.

  1. Click the InboxPilot toolbar icon → Full settings, or right-click the extension → Options.
  2. You should see three tabs: AI settings, Instruction sets, and General. You can configure them in any order; the steps below follow a typical first-time path.

Step 3

General tab — behavior and rules

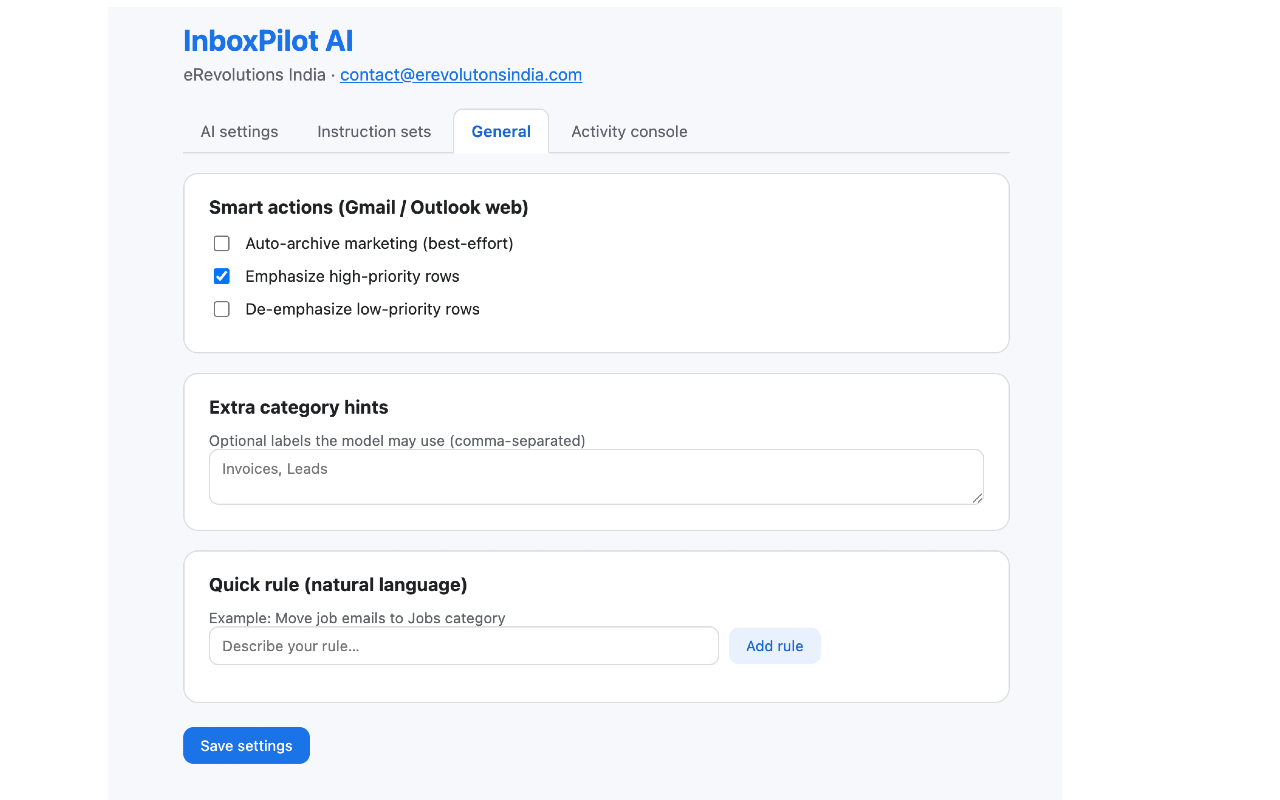
Tune how the extension behaves in the inbox before or without turning on AI.
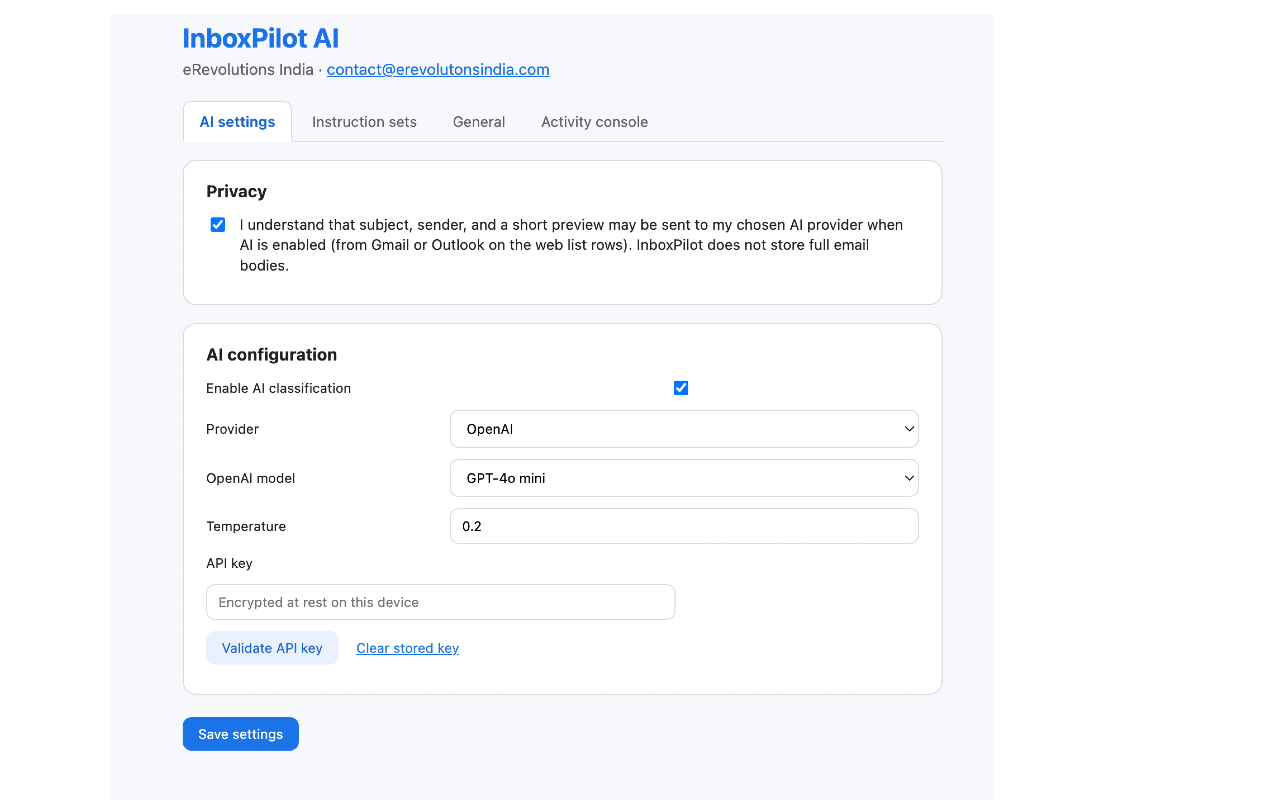
  1. Open the General tab.
  2. Enable the options that fit your workflow: for example smart actions, category hints, and natural-language rules (wording depends on version).
  3. Save or apply if your build requires it. Rules and local logic can still help when AI is off.

Step 4

AI settings — provider, model, and key

AI is opt-in: nothing is sent to OpenAI or Gemini until you enable it and save a key.

  1. In your own account, create an API key with OpenAI or Google AI (Gemini)—the extension does not ship a shared key.
  2. Open the AI settings tab. Choose Provider, Model, and Temperature (higher = more variation in suggestions).
  3. Paste your API key, read the data notice, and confirm. The key is encrypted (AES-GCM) before it is stored.
  4. Turn AI on when you are ready. You can disable AI anytime; local settings and rules remain.

Step 5

Instruction sets — how the model should triage

Instructions tell the model your priorities (e.g. urgent vs. newsletter).

  1. Open the Instruction sets tab.
  2. Pick one of the built-in profiles or enter custom English instructions that match how you want mail classified.
  3. The active profile text is sent with each AI request, together with subject, sender, and a short row preview—not the full email body.

Step 6

Use it in Gmail or Outlook on the web

The extension runs on the mail site itself; stay in Chrome.

  1. Open Gmail or Outlook on the web in Chrome (consumer or Microsoft 365 URLs your build supports).
  2. Go to your inbox list. Where AI is enabled, unread threads can get suggestions; read rows are skipped so you do not re-run AI on old mail.
  3. Use the toolbar popup for quick toggles: AI on/off, instruction engine, switching the active mode, and digest-style summaries—without opening Options every time.
  4. Watch labels, categories, or actions the extension adds on list rows; adjust General rules or instructions if results drift.

Tip: If Outlook’s layout changes or a tenant looks different, refresh the tab. List parsing is best-effort across Microsoft UI variants. If you move machines or worry about profile access, rotate your API key in the provider’s dashboard.

InboxPilot AI Chrome Web Store promo tile

Screenshots

Options, instructions, and the extension in context—so you know what to expect before you install.

InboxPilot AI in use on an inbox view
Inbox experience
InboxPilot AI settings screen
Settings
General options in InboxPilot AI
General options
Instruction presets in InboxPilot AI
Instruction presets

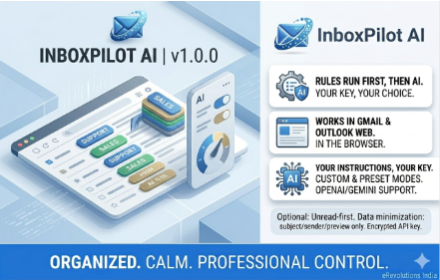
Prefer a single hero asset? The store listing also uses InboxPilot-AI.png for branding consistency.

InboxPilot AI product graphic

Ready to try InboxPilot AI?

Install from the Chrome Web Store and read our privacy, retention, and processing policies anytime.

Open Chrome Web Store